SETTINGS: TIME CARD ADJUSTMENT
Step-By-Step:
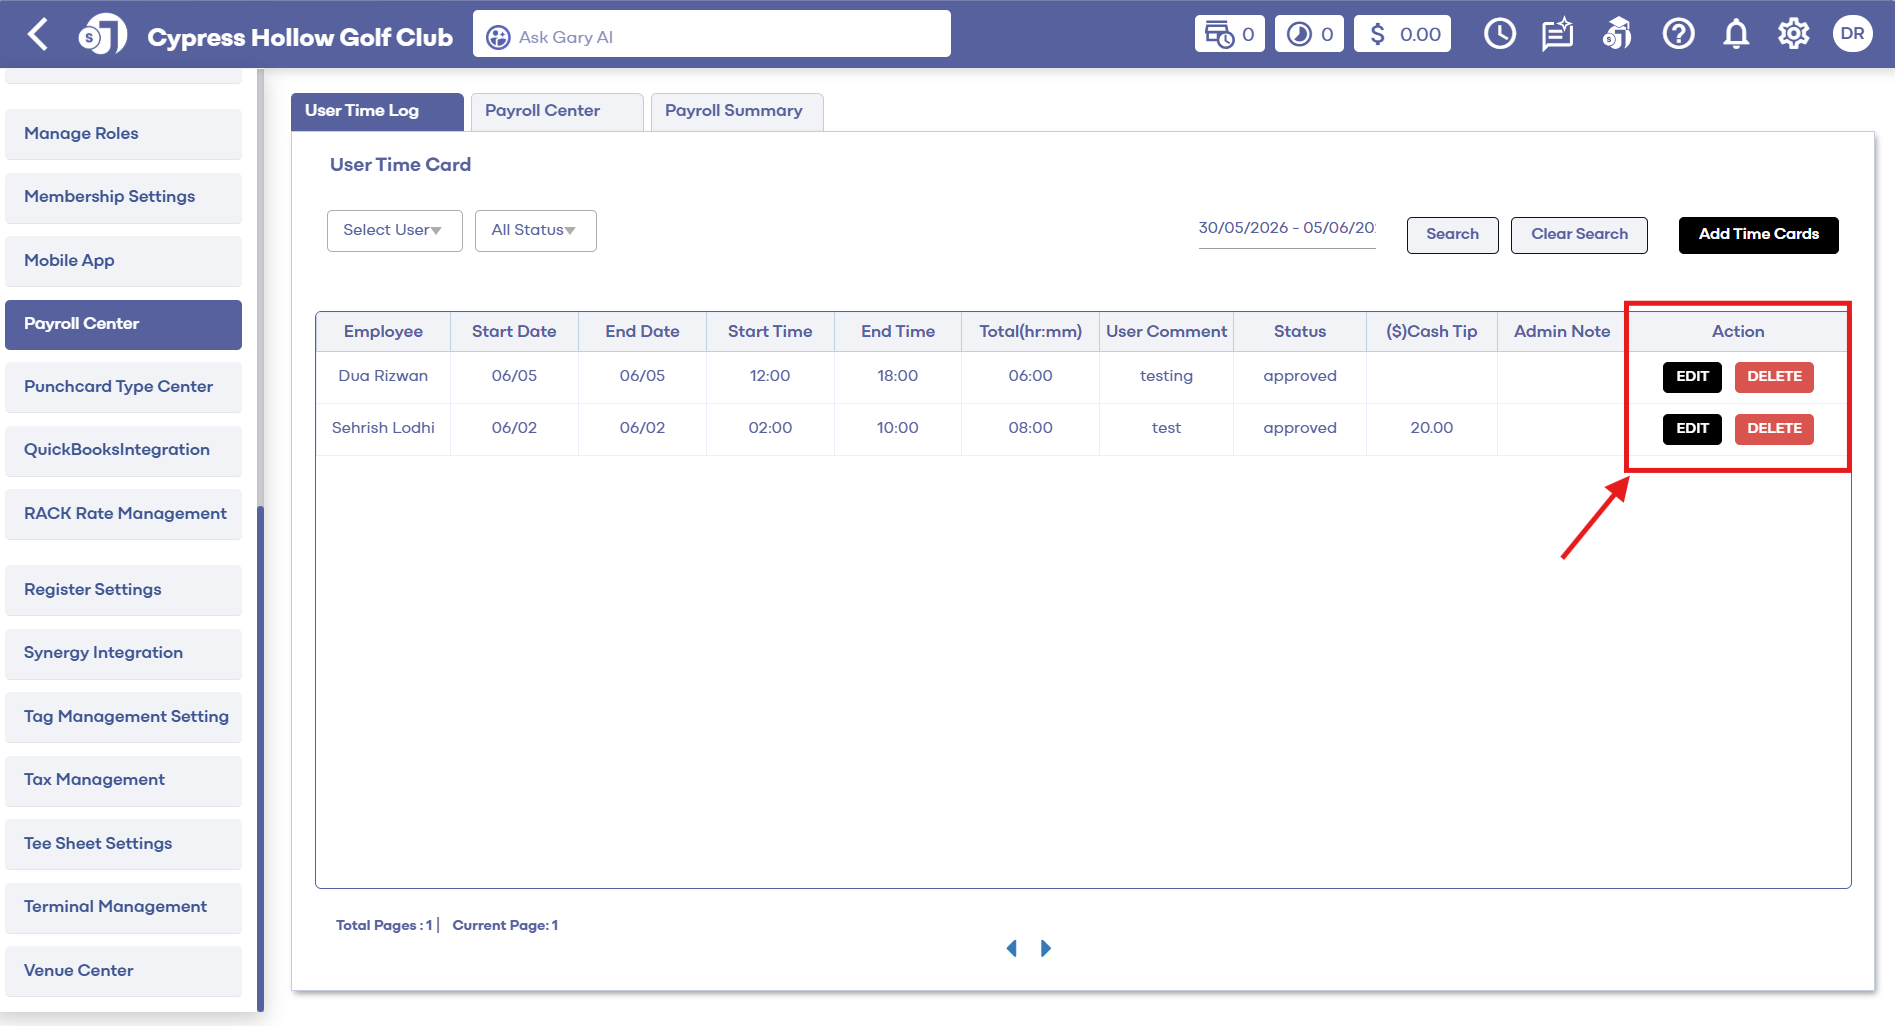
Step 1: Click the Settings (gear icon) located in the top right-hand corner of your screen. Then, use the left-hand navigation menu to locate Payroll Center.
Step 2: Use the filters at the top of the Payroll Center to narrow down your search. You can filter by (1) specific users; (2) timecard status (approved, pending, declined); and (3) date range.
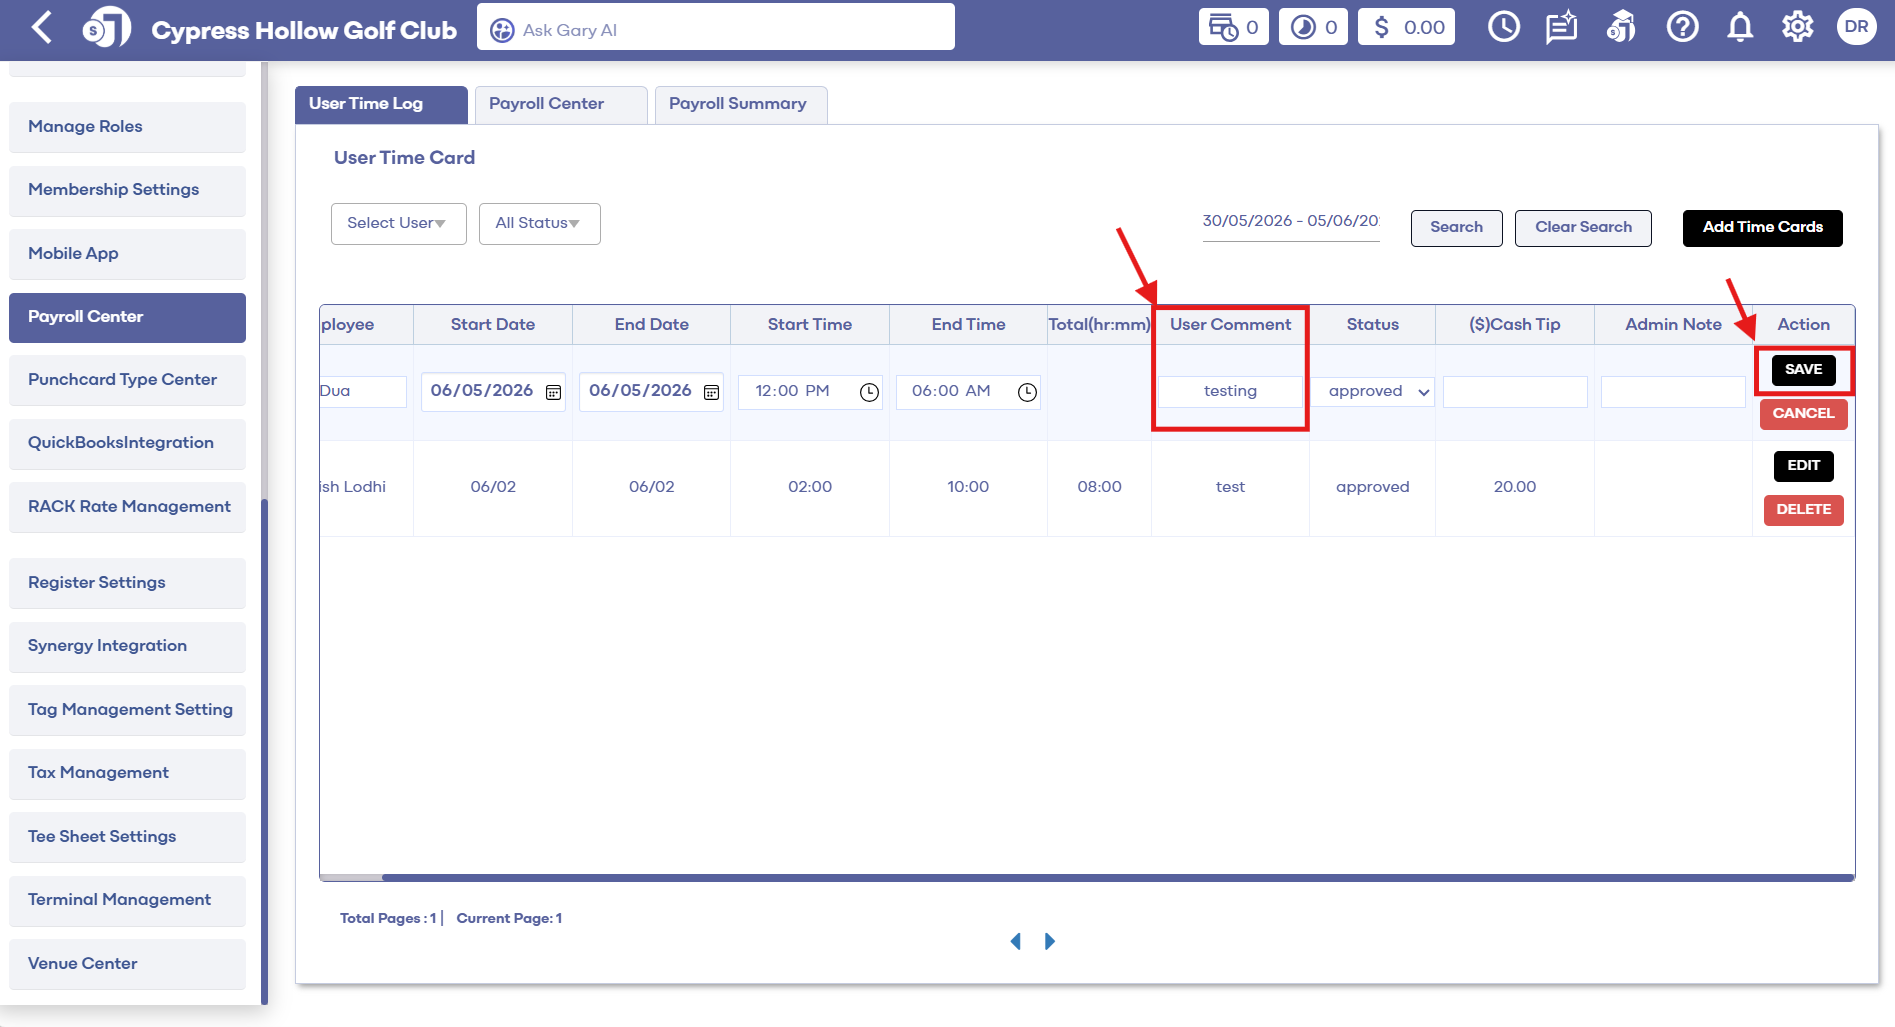
Step 3: After locating the timecard you wish to edit, click the “Edit” button. You can adjust all the columns except for the employee names and the automatically calculated hours and minutes.
Step 4: Once you’ve made the necessary adjustments to the timecard columns, ensure you leave an admin note for reference. Finally, click “Save” to confirm your changes.
Related Articles
Membership Settings
In Jonas Synergy, the membership settings are crucial to managing your club operations effectively. This knowledge-based article will guide you through the membership settings, offering a detailed understanding of each option, ensuring you make the ...SETTINGS: REGISTER SETTINGS
Article Contents: This will show you how to navigate through your register settings, as well as providing a brief description on what each setting can do for you club. Video: The video covers essential features such as printing tip receipts, adding ...SETTINGS: MULTI-COURSE PUNCH CARD USAGE
Article Contents: This Article Guides You On How To Create A Punch Card To Be Used Across Multiple Courses. Step by Step: Step 1: Navigate to Settings, then click on Punchcard Type Center. Step 2: Add a new punchcard or edit an existing one. In the ...SETTINGS: ADJUST DAY END CLOSING TIME
Article Contents: This article contains step-by-step instructions on how to adjust the day-end closing time. Step-By-Step: Step 1: Click on the Gear Wheel icon from the top right corner of the software window. Step 2: Click on Register Settings from ...SETTINGS: CREATING A PUNCH CARD
Article Contents: This article contains step-by-step instructions on how to create a punchcard. Step by Step Step 1: Click the Gear Box icon from the top right of the screen—next click 'Punch Card Type Center' in the left-hand menu. The system will ...