The topics that will be covered are:
- Navigate to the I-Frames settings in Jonas Synergy.
- Edit the primary and secondary color of the I-Frames.
- Add a customized message to the I-Frame banners.
- Schedule banners for specific I-Frames like Event Registration, Bulletin Board, Membership Portal, and Tee Time Booking Engine.
- View the updates on the website.
Step-By-Step:
Step 1: Navigate to the I-Frames settings in Jonas Synergy:
1.1 Log into your Jonas Synergy software.
1.2 From the dashboard, navigate to 'Settings' by clicking the gear wheel.
1.3 On the left, select 'I-Frames'. This will take you to the I-Frames settings page.
1.4 Under the URL tab you will find a list of links to the various I-Frames.
Step 2: Edit Settings of the I-Frames
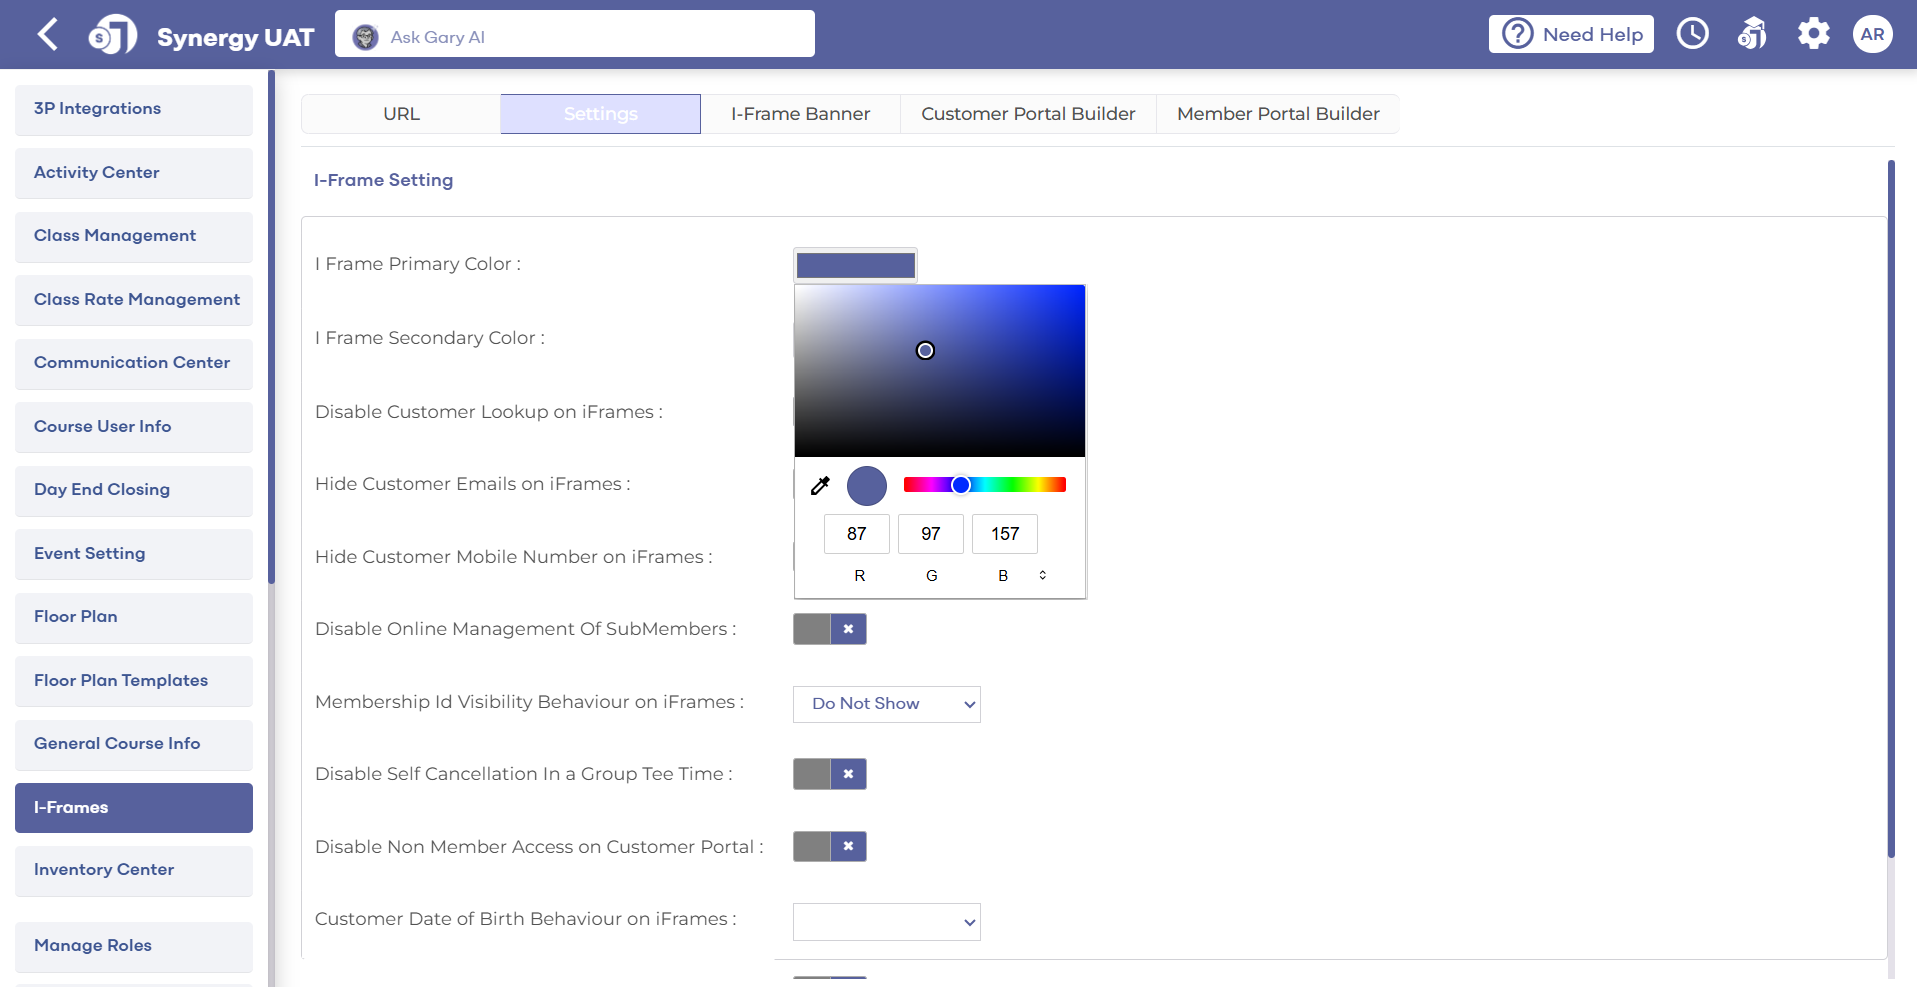
2.1 Once in the I-Frames choose the 'Settings'. You can adjust the look by changing the color from the 'I Frame Primary Color' and 'I Frame Secondary Color' settings.
2.2 Click on the color bar. You will see a palette of colors to choose from. The changes will be applied immediately.
Step 3: Add a customized message to the I-Frame banners
3.1 Click to the 'I-Frame Banners' tab.
3.2 Click on the ' ADD Banner' to create a new banner or the ' Edit' option (by clicking the three dots to the right) to customize a banner. You can include pertinent information such as call-to-action messages, contact information, or opening hours.
Step 4: Schedule banners for specific I-Frames
4.1 Within the I-Frame Banners settings, you have the option to schedule specific banners for different I-Frames.
4.2 To do this, simply choose the appropriate Placement Identifier from dropdown.
*Note the Top and Bottom options, which will place your banner accordingly.
*Note the Top and Bottom options, which will place your banner accordingly.
4.3 Then, select the 'Schedule' option. Input the specific dates you want the banner to be displayed and enter the banner content.
4.4 You can use various tools to format your message and can also include images, links, YouTube videos, tables, and more.
Step 5: View the updates on the website
5.1 After you have made all the necessary changes, navigate to the URL of your website or the platform where you have embedded the I-Frame.
5.2 You should see the updated banners displayed on the chosen I-Frames for the specified period
By following these steps, you will be able to fully utilize the customizable banner options within Jonas Synergy's I-Frames feature, thereby enhancing the usability and aesthetics of your golf management interface.