Step-By-Step:
Step 1: From the Gear Wheel Icon on the top Right corner of screen, click on the Terminal Management from left side of the menu.
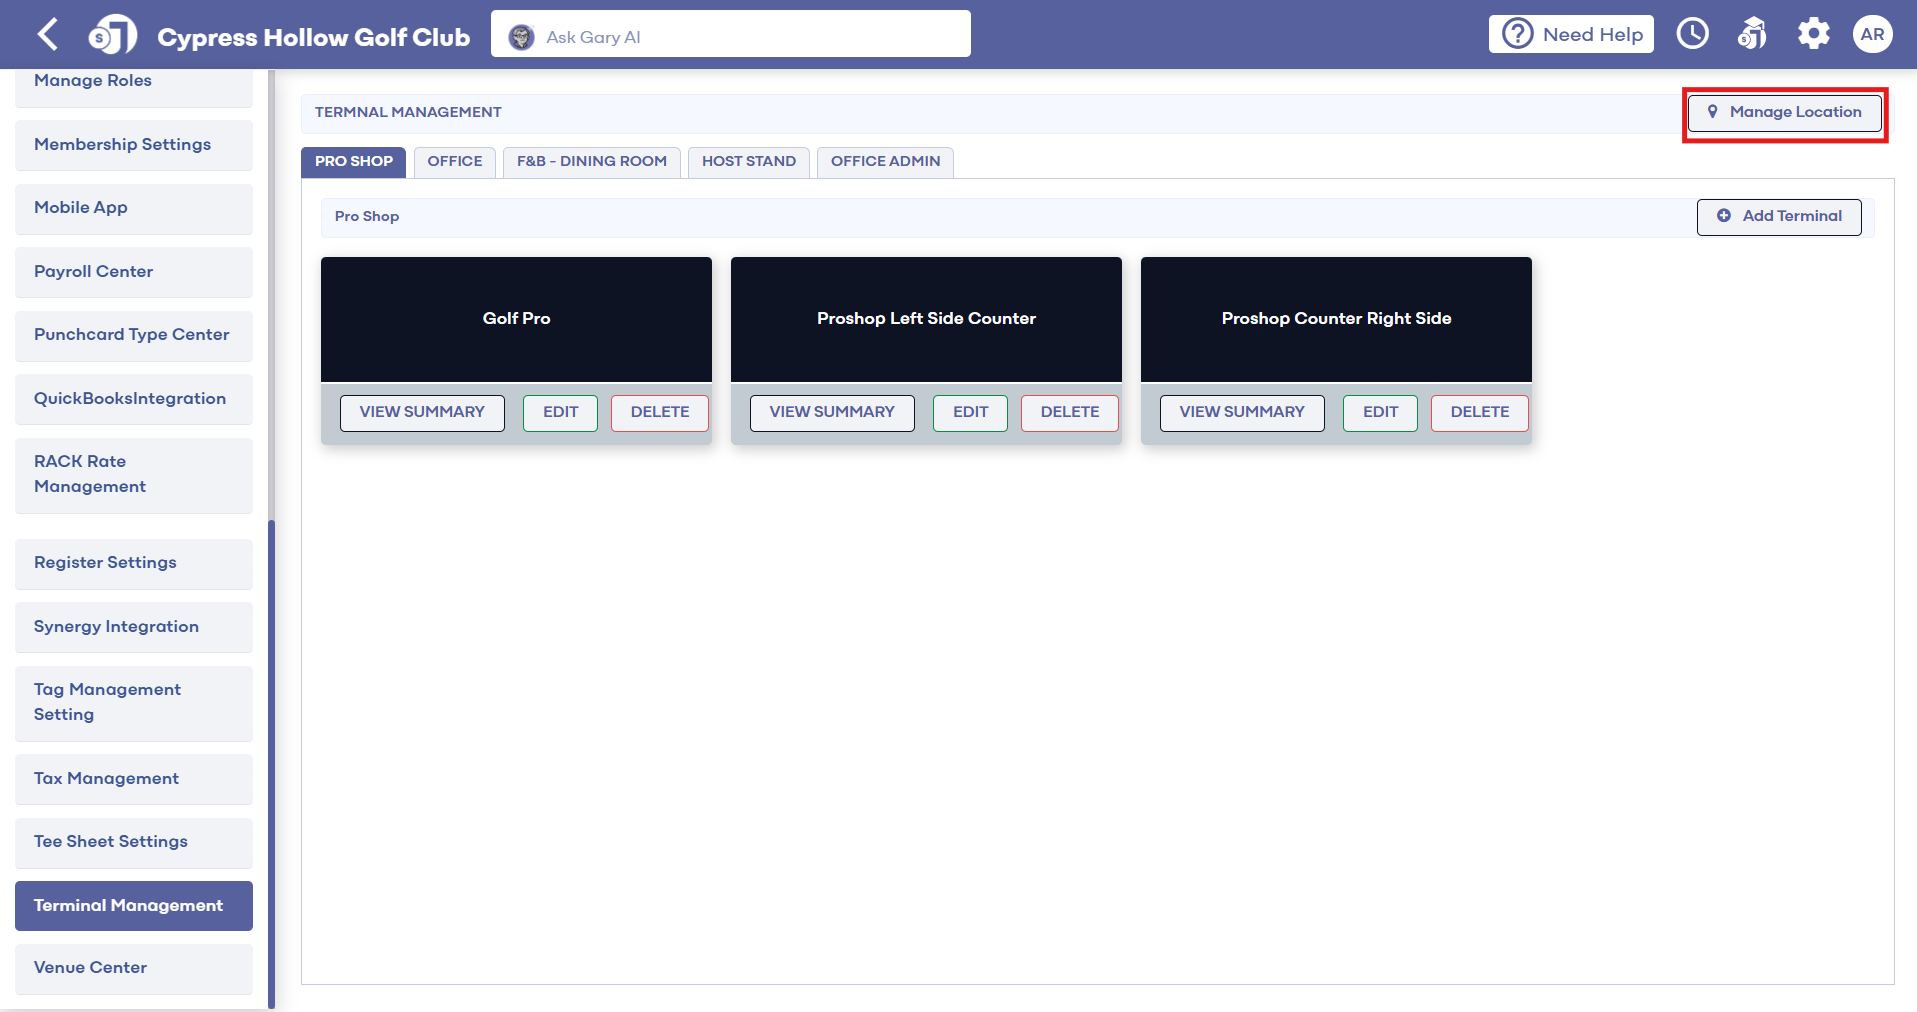
Step 2: Next select the Manage Location to open the location management wizard.
Step 3: You'll be prompted to enter a new location name at the top of the window. Once you've selected "Add Location" (1), your newly created location will be added to the displayed list.
Step 3: You'll be prompted to enter a new location name at the top of the window. Once you've selected "Add Location" (1), your newly created location will be added to the displayed list.
Step 4: Next to each of the locations you'll find a pair of settings that apply to all underlying terminals.
Tip Applicable on Order - This applies a tip line on the receipts for orders that are rung through the underlying terminals.
Tip Suggestion - This allows you to specify tip suggestions that are displayed on the customer receipts providing them a quick calculation for popular tip percentages.