How to Add a Pricing Schedule

Adding a Pricing Schedule (Video)

Article Contents: This article contains step-by-step instructions on how to add a Pricing Schedule. Ex. Setting up discounts on drinks for a happy hour every Friday from 4-7pm.

Video Contents:
This tutorial video delves into the features and functionalities that will save you time and effort in managing special pricing events, happy hour deals, and much more. Get an in-depth understanding of how to automatically alter prices according to predetermined schedules, and the ways you can customize them to fit your specific needs.
 
Step-By-Step:

Step 1: Select the item that you would like to adjust the price by right clicking on it, then select Edit Inventory.

 
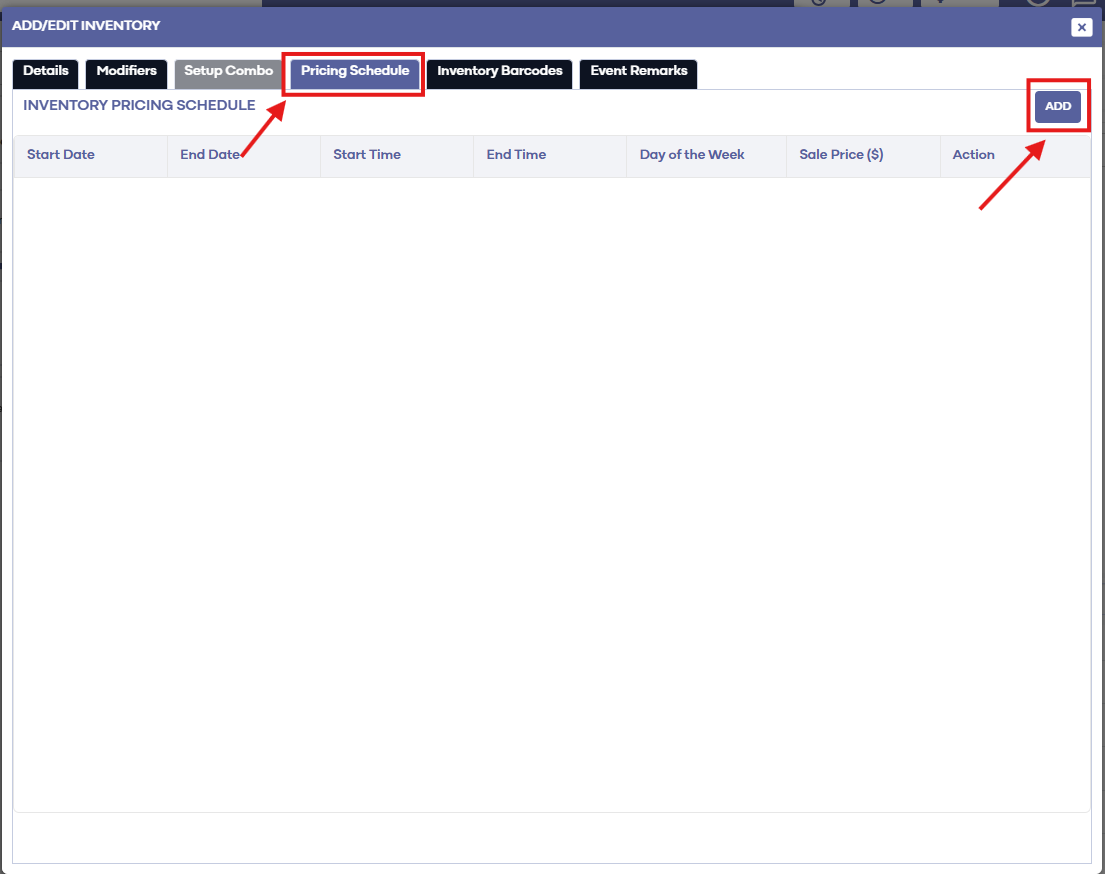
Step 2: This will bring up an Inventory pop-up window for that item. In the pop-up, click on the Pricing Schedule tab. Then, click Add.


Step 3: Here you will be able to select the date range for when you would like the item's price adjusted, what time of day, the day of the week, and the price. Ex. Below in the picture we set the item of canned Beer to $1 for the month of November, from 4-7pm on Friday's only.
 
 
Step 4: When setting the price in the pricing schedule, it cannot be below the Floor Price. - Found under the Details tab.


Please note this will change the price of the item only in the point of sale during the time scheduled. It will not create a new inventory item or button but will simply change the price during the scheduled time, and then the price will change back to the original time after the scheduled time is over.


    • Related Articles

    • Creating A New Group Modifier (Video)

      In this video tutorial, we will guide you through the process of creating an inventory item with modifiers We will cover how to start with an existing item template, update its details, choose menu colors, add modifiers, and apply them to the ...
    • SETTINGS: DEPARTMENTS TAB OVERVIEW (VIDEO)

      Article Contents: In this video tutorial, we provide step-by-step instructions on navigating the second tab of the register settings: Department. Below are the key points covered. Step-By-Step: Step 1: The Department tab is where you create and ...
    • Creating & Editing I-Frame Banners (Video)

      Article Contents: This article contains step-by-step instructions on how to configure banners within the I-Frame settings. The topics that will be covered are: Navigate to the I-Frames settings in Jonas Synergy. Edit the primary and secondary color ...
    • Adding Shipping Costs

      Article Contents: This is a guide on how to include shipping cost when receiving inventory. Step-By-Step: Step 1: Navigate to Settings and then select Inventory Center from the left-hand-side menu. Step 2: Click on the Receive/Transfer Inventory tab. ...
    • Adding Rack Rates

      This article shows how to Add rack rates to tee sheet. Step-By-Step: Step 1: Click on Settings. Step 2: Click on "Rack Rate Management". Step 3: Click on "Add" for create new one or click on "Edit" for modify existing one.