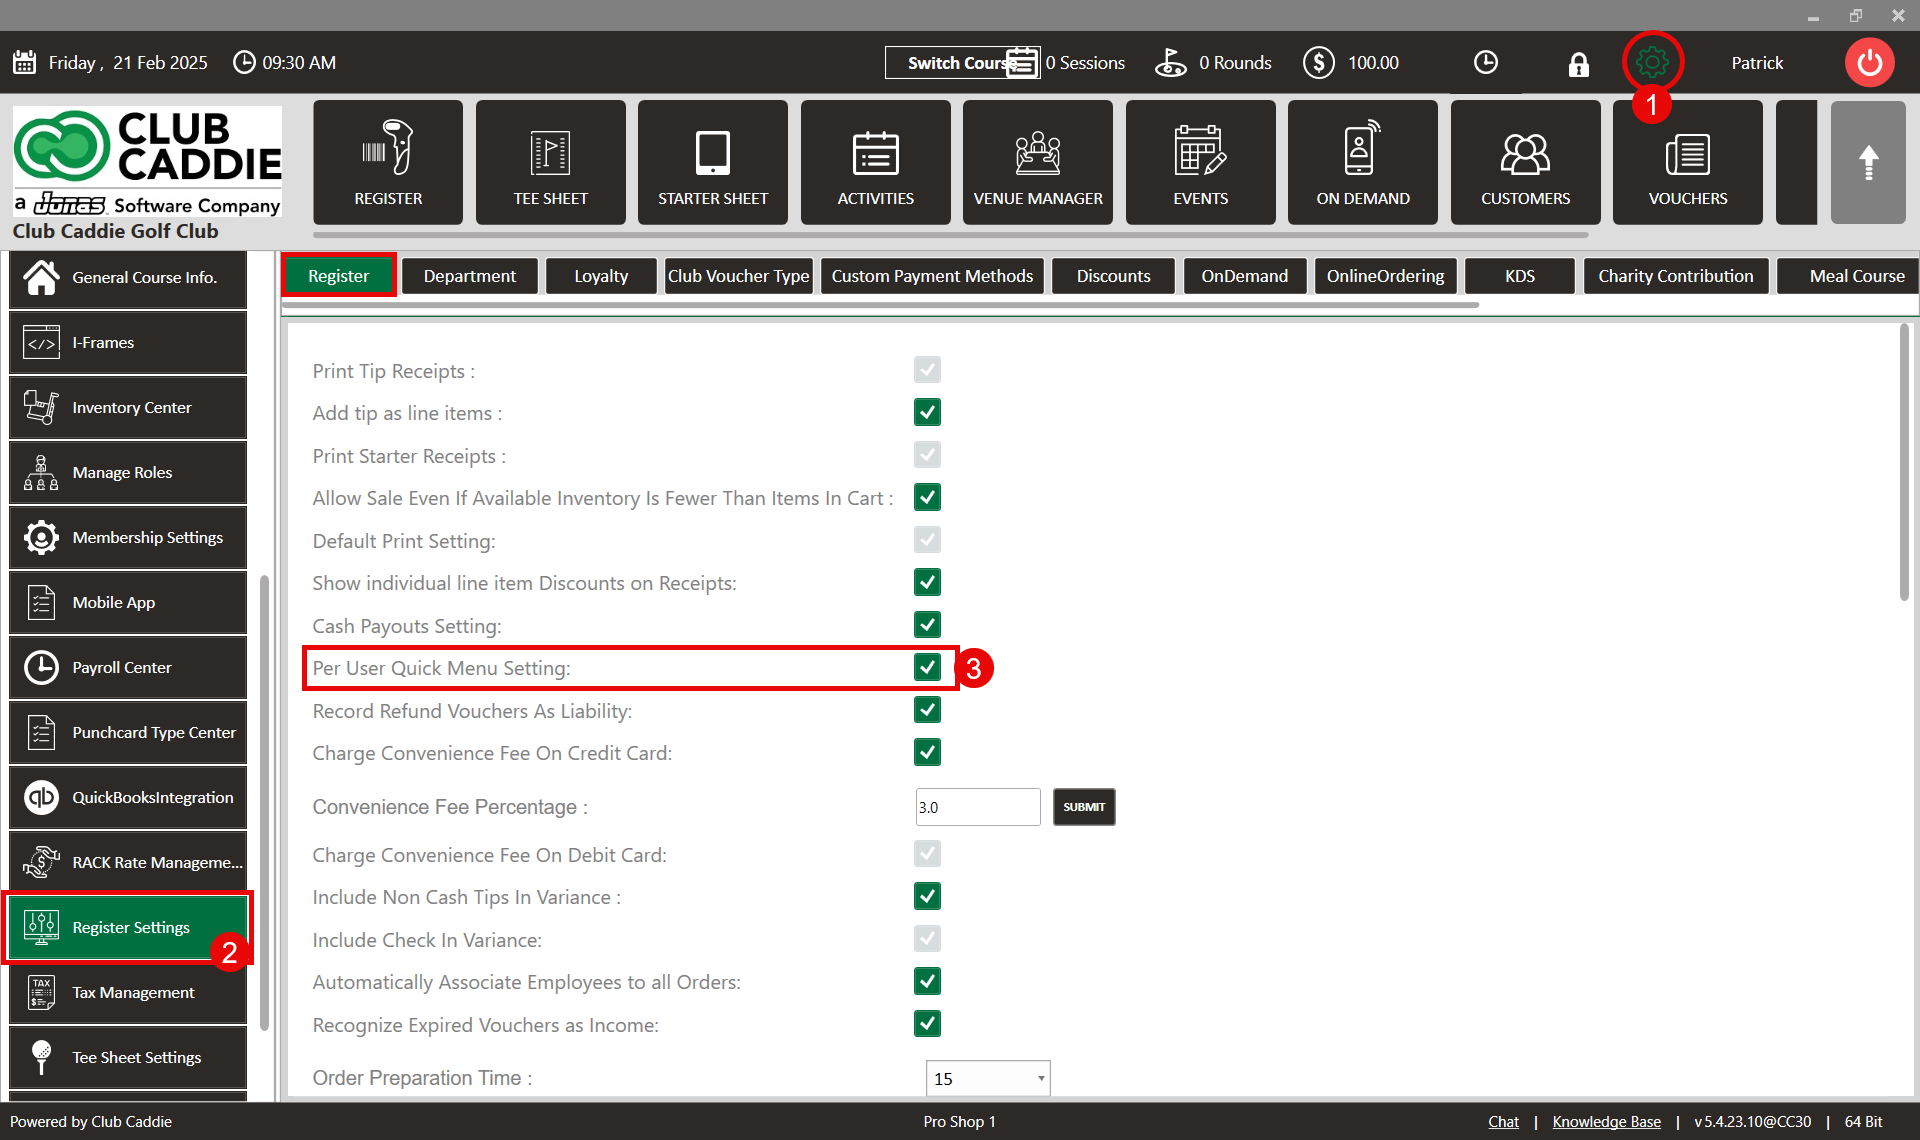
SETTINGS: PER USER QUICK MENU SETTINGS
Related Articles
SETTINGS: REGISTER SETTINGS
Article Contents: This will show you how to navigate through your register settings, as well as providing a brief description on what each setting can do for you club. Video: The video covers essential features such as printing tip receipts, adding ...
User Role Permissions
Article Contents: This article contains information on User Role permissions. Settings > Manage Roles > Action > Edit Permissions Step 1: Click on the Gear Wheel icon on the top right corner of the screen. Then, click on the Manage Roles button from ...
Clover Mini User's Guide
Article Contents: This Clover Mini User's Guide covers the device's features, setup process, and troubleshooting Overview The CardPointe Integrated Terminal Clover Mini provides a sleek and secure next-generation payment experience for your ...
SETTINGS: VOID WINDOW SETTING/USER SPECIFIC VOID WINDOW
Article Contents: This article contains a step-by-step instruction on how to set the void window setting and how to set User-specific Void Windows. Step by Step Step 1: Click on the Gear wheel (Settings) Icon in the top right corner of Jonas Synergy. ...
Inactivate a User
Article Contents: This article contains steps on how to inactivate a specific user account. Step-By-Step: Step 1: Click on the Gear Wheel (Settings Icon) in the top right corner of Jonas Synergy. Step 2: Click on “Course User Info” from the left hand ...