Archiving a Guest
Step-By-Step:
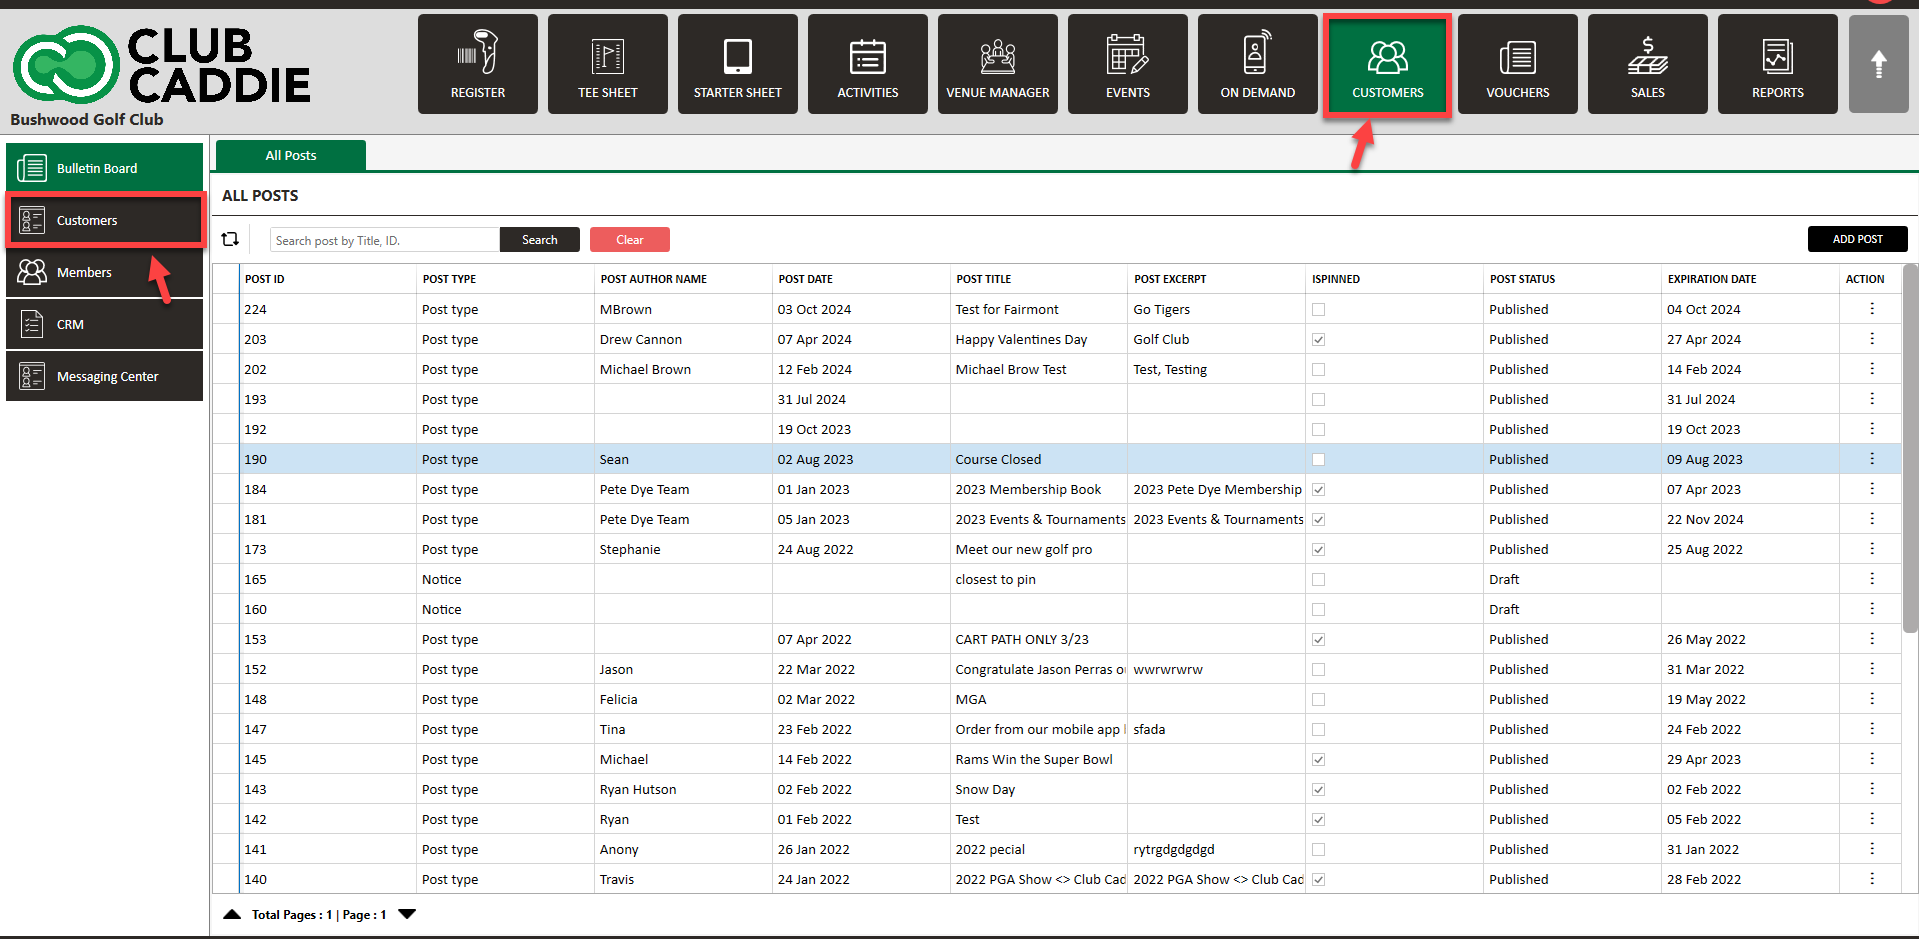
Step 1: Navigate to the Guests module along the top of the POS, then click on Guests.
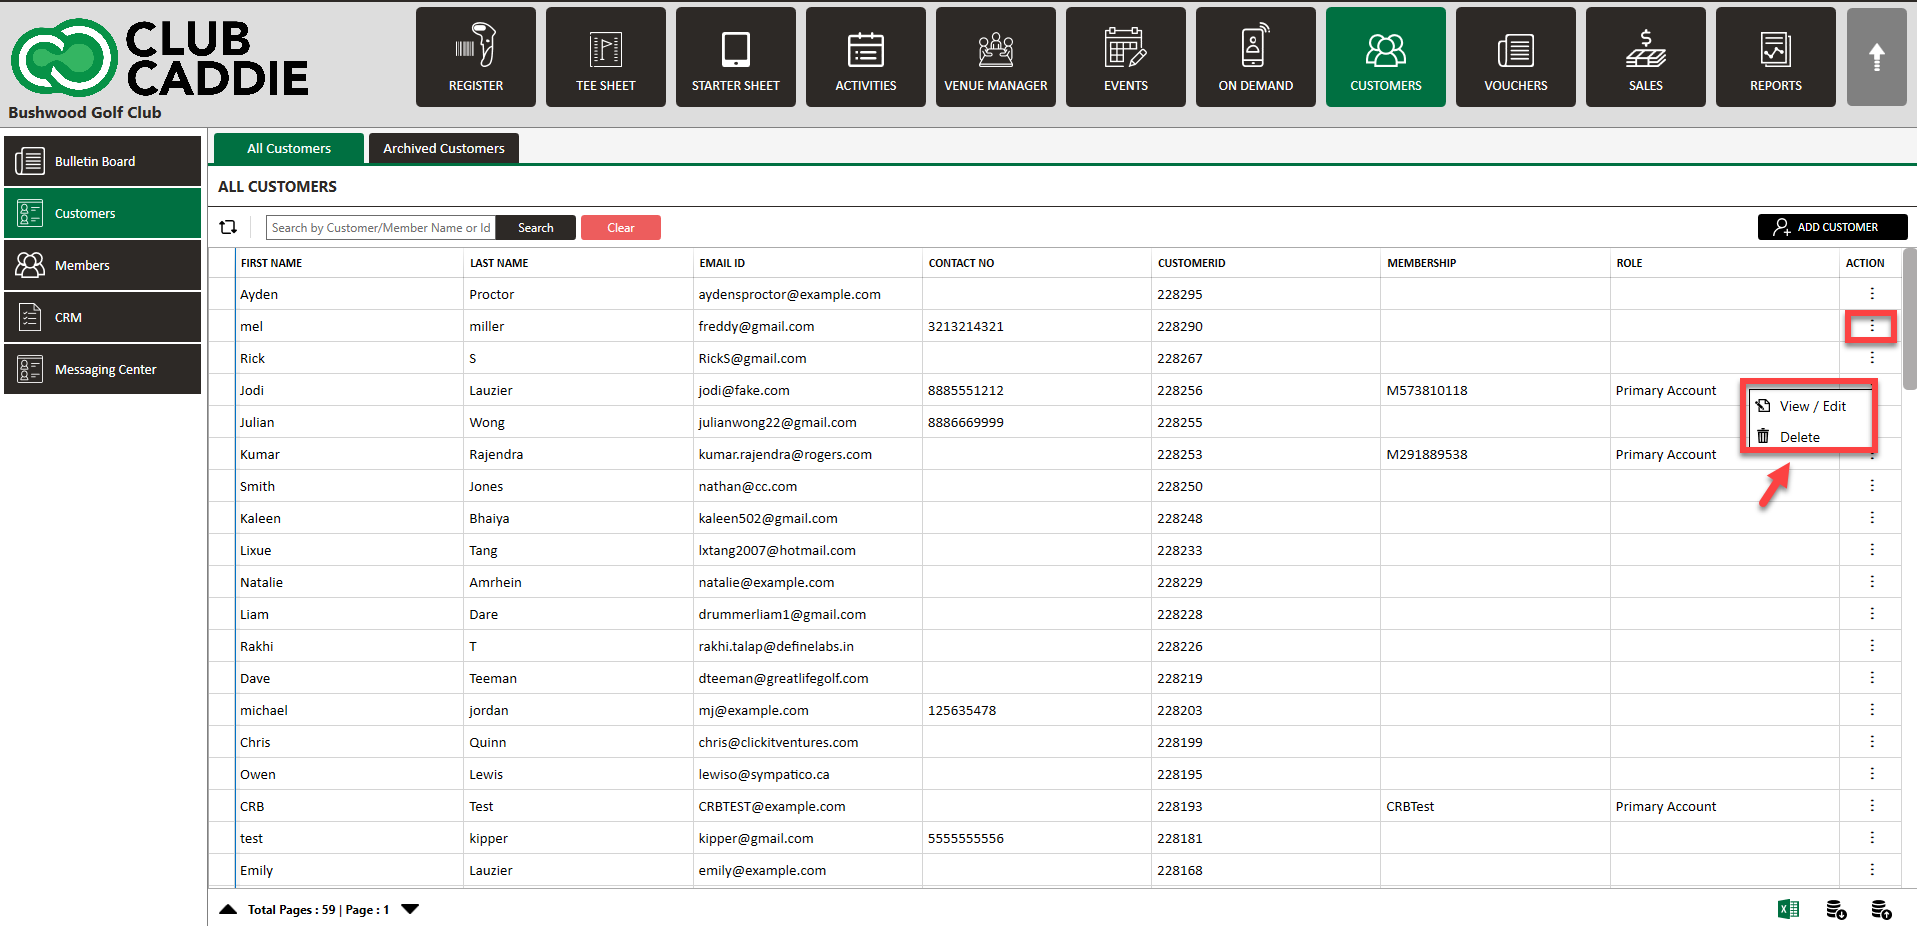
Step 2: Search for the Guest that you want to delete, and click on Action (three small dots) on the right hand side. Select Delete.
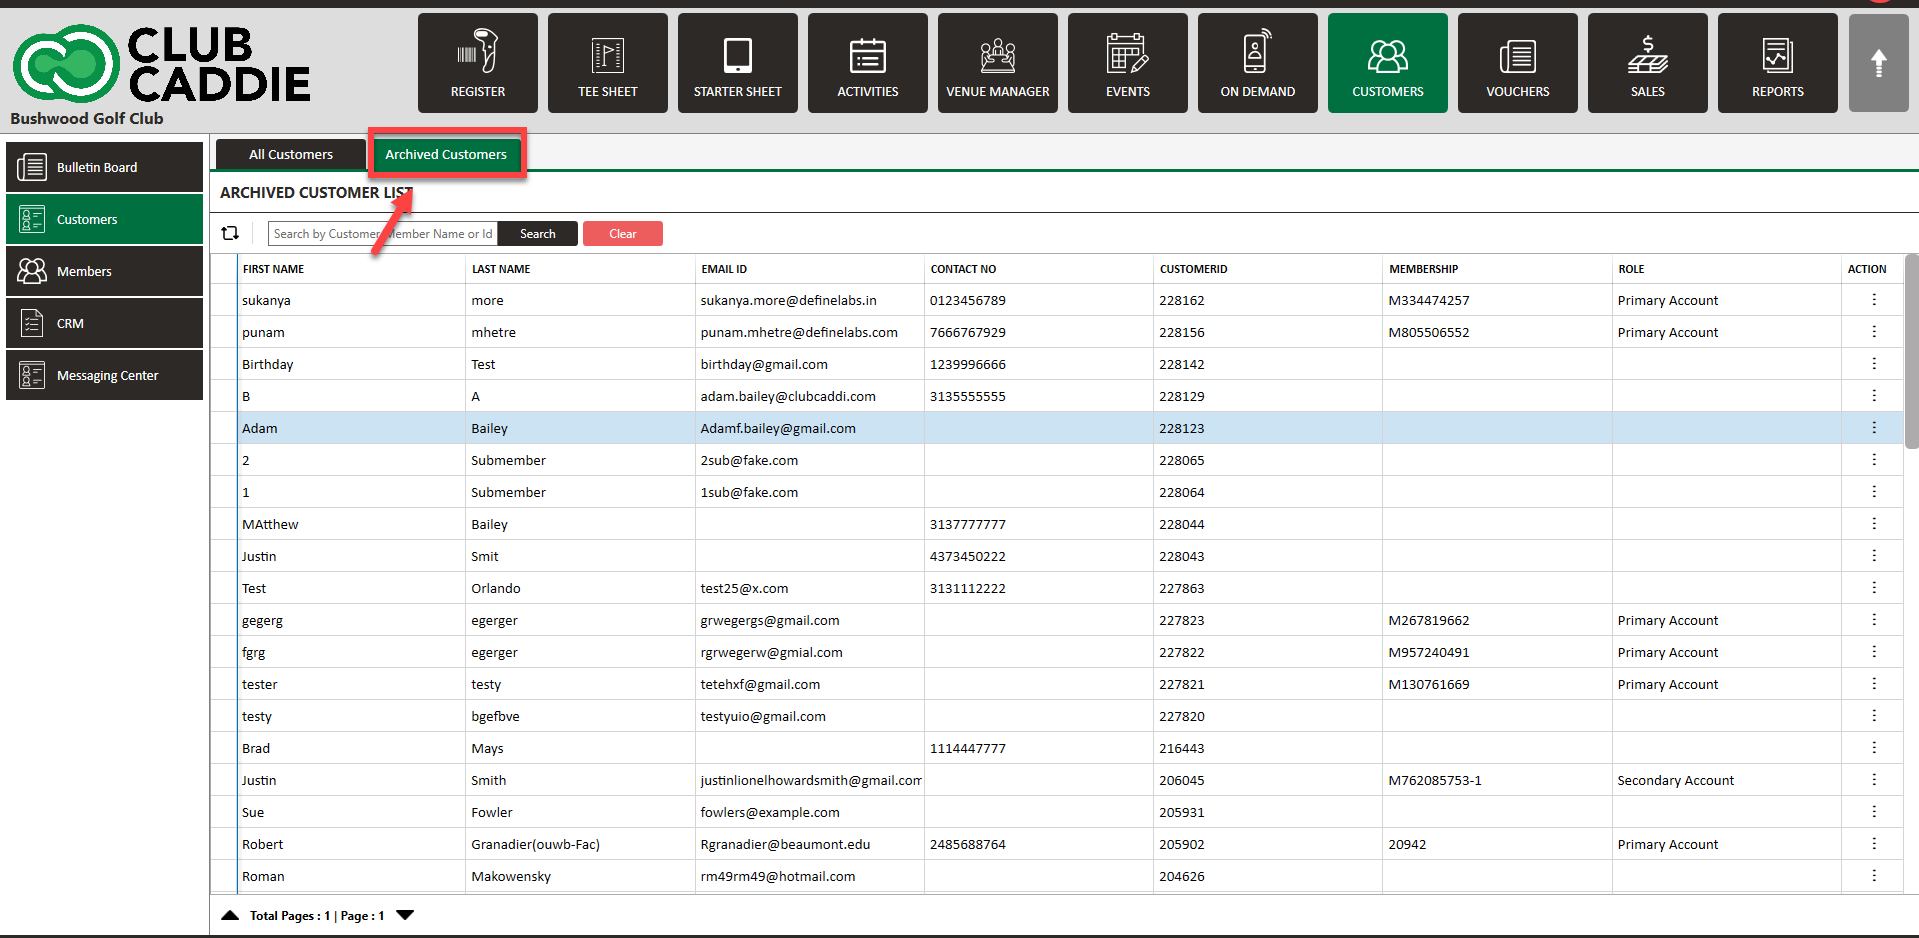
Step 3: You will be able to view this Guests in the Archived tab.
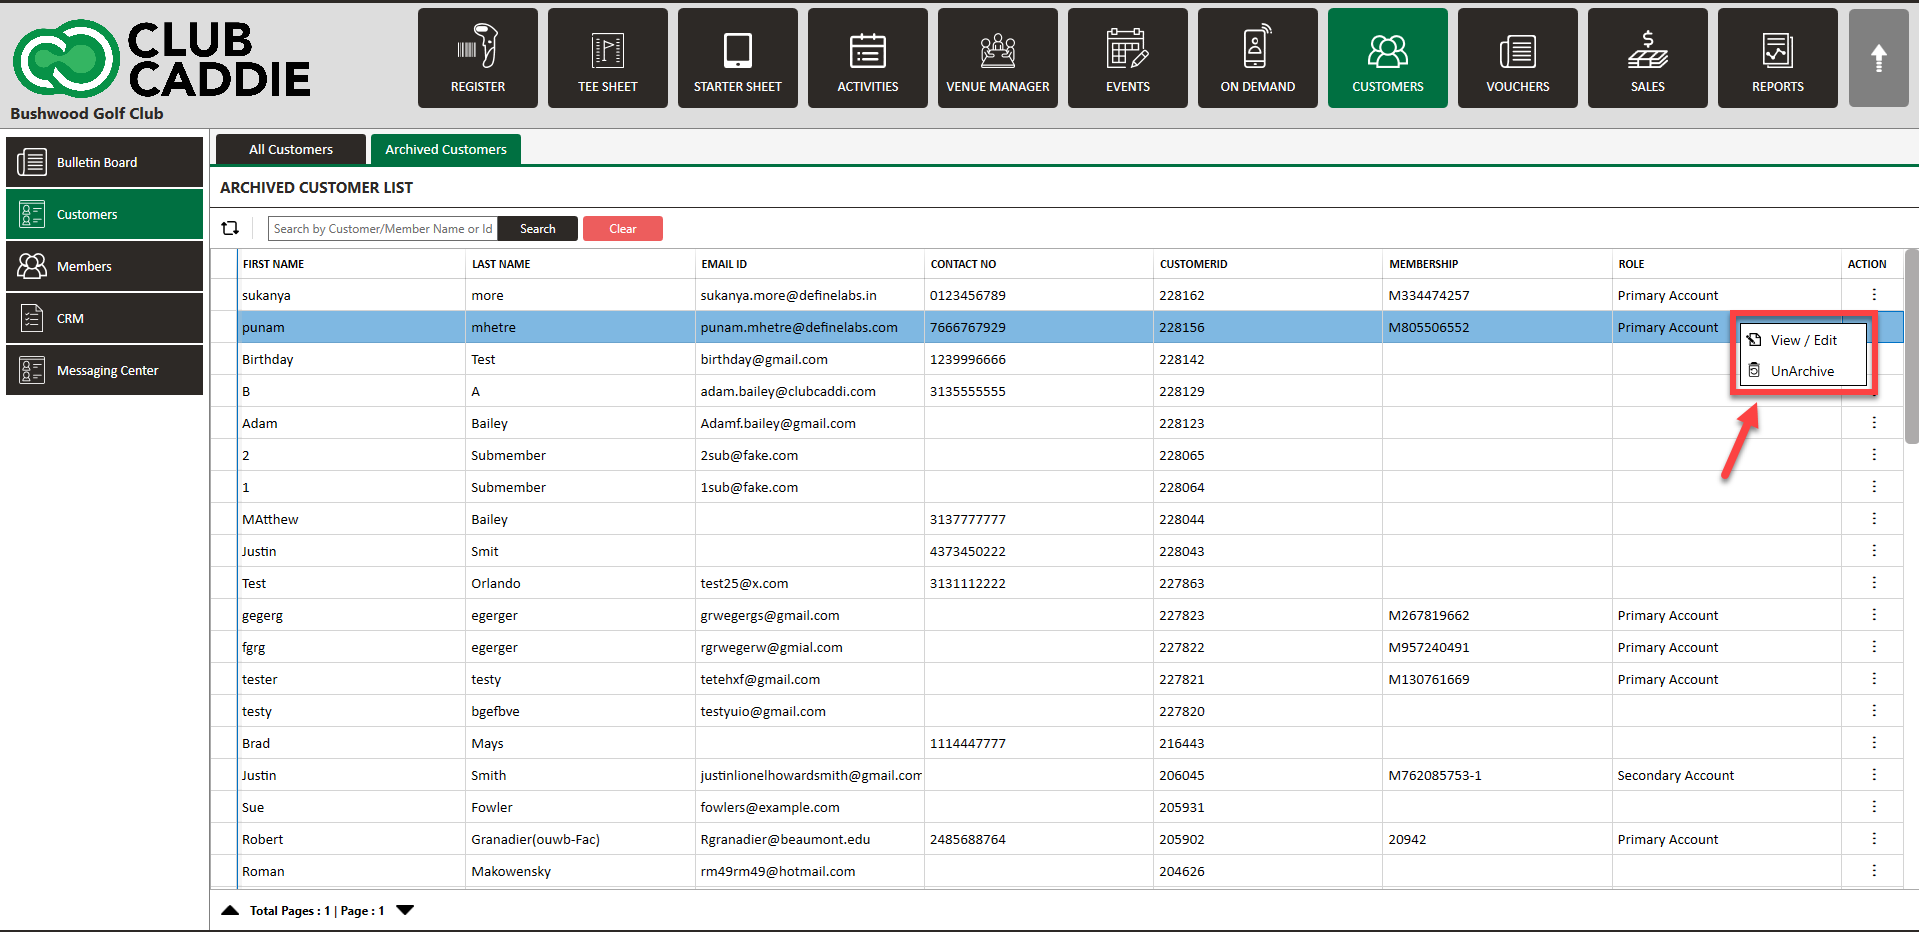
Step 4: If you would like to Unarchive the Guest, click on Action and then select Unarchive.
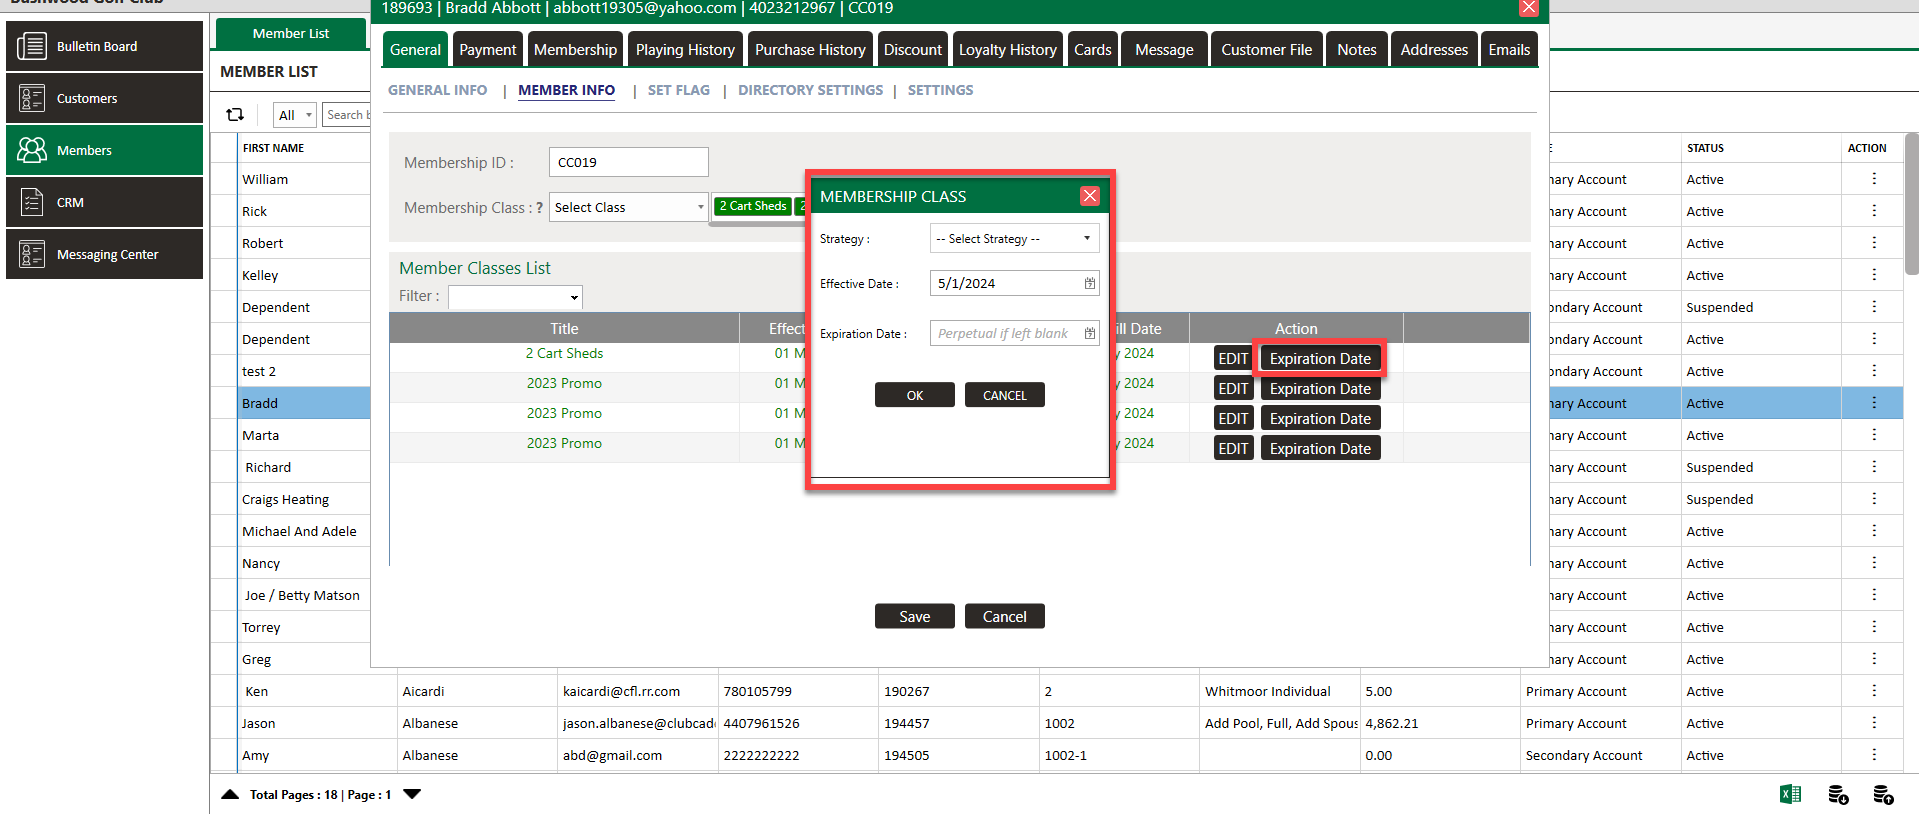
Please note that when you delete and archive a Guest, this does not end the billing if the Guest is a member. You will need to navigate to their profile and expire their membership to stop billing (see below).
Related Articles
Class Expiration / Archiving
This article contains instructions on how to archive a class on a member Once a class is assigned to a Guest, it cannot be deleted. The user has to wait until the expiration time of the class for it to get deleted. You can also change the expiration ...Assign Guest Class
Article Contents: This article contains step-by-step instructions on how to link a Guest class to a Guest Step-By-Step: Step 1: Select the Guest module from the module navigation menu, then click on Guests in the left-hand menu. Step 2: Click on the ...Understanding the Guest Module
In this video, we will provide an overview of the Guest Module:Adding a New Guest
This article summarizes how to add a new Guest from Tee Sheet, POS, and Guest Tab. Step-By-Step: A. Adding a new Guest through Tee-Sheet. Step 1: Click on the "Tee Sheet' Tab from the header of the window. Step 2: On Tee Sheet, there are time slots ...Add Guest to Group
This portion summarizes how to Manage Groups and Add Guests to a Group. Step-By-Step: Step 1: Click on the Guests Tab (1) from the header of the window. Click on CRM (2) from the left row of the window, then select Manage Groups (3) where you can see ...