Add New Card
Step-By-Step:
Step 1: Log-in to the member portal via your course website using either your membership ID number or your email that is tied to your membership profile.

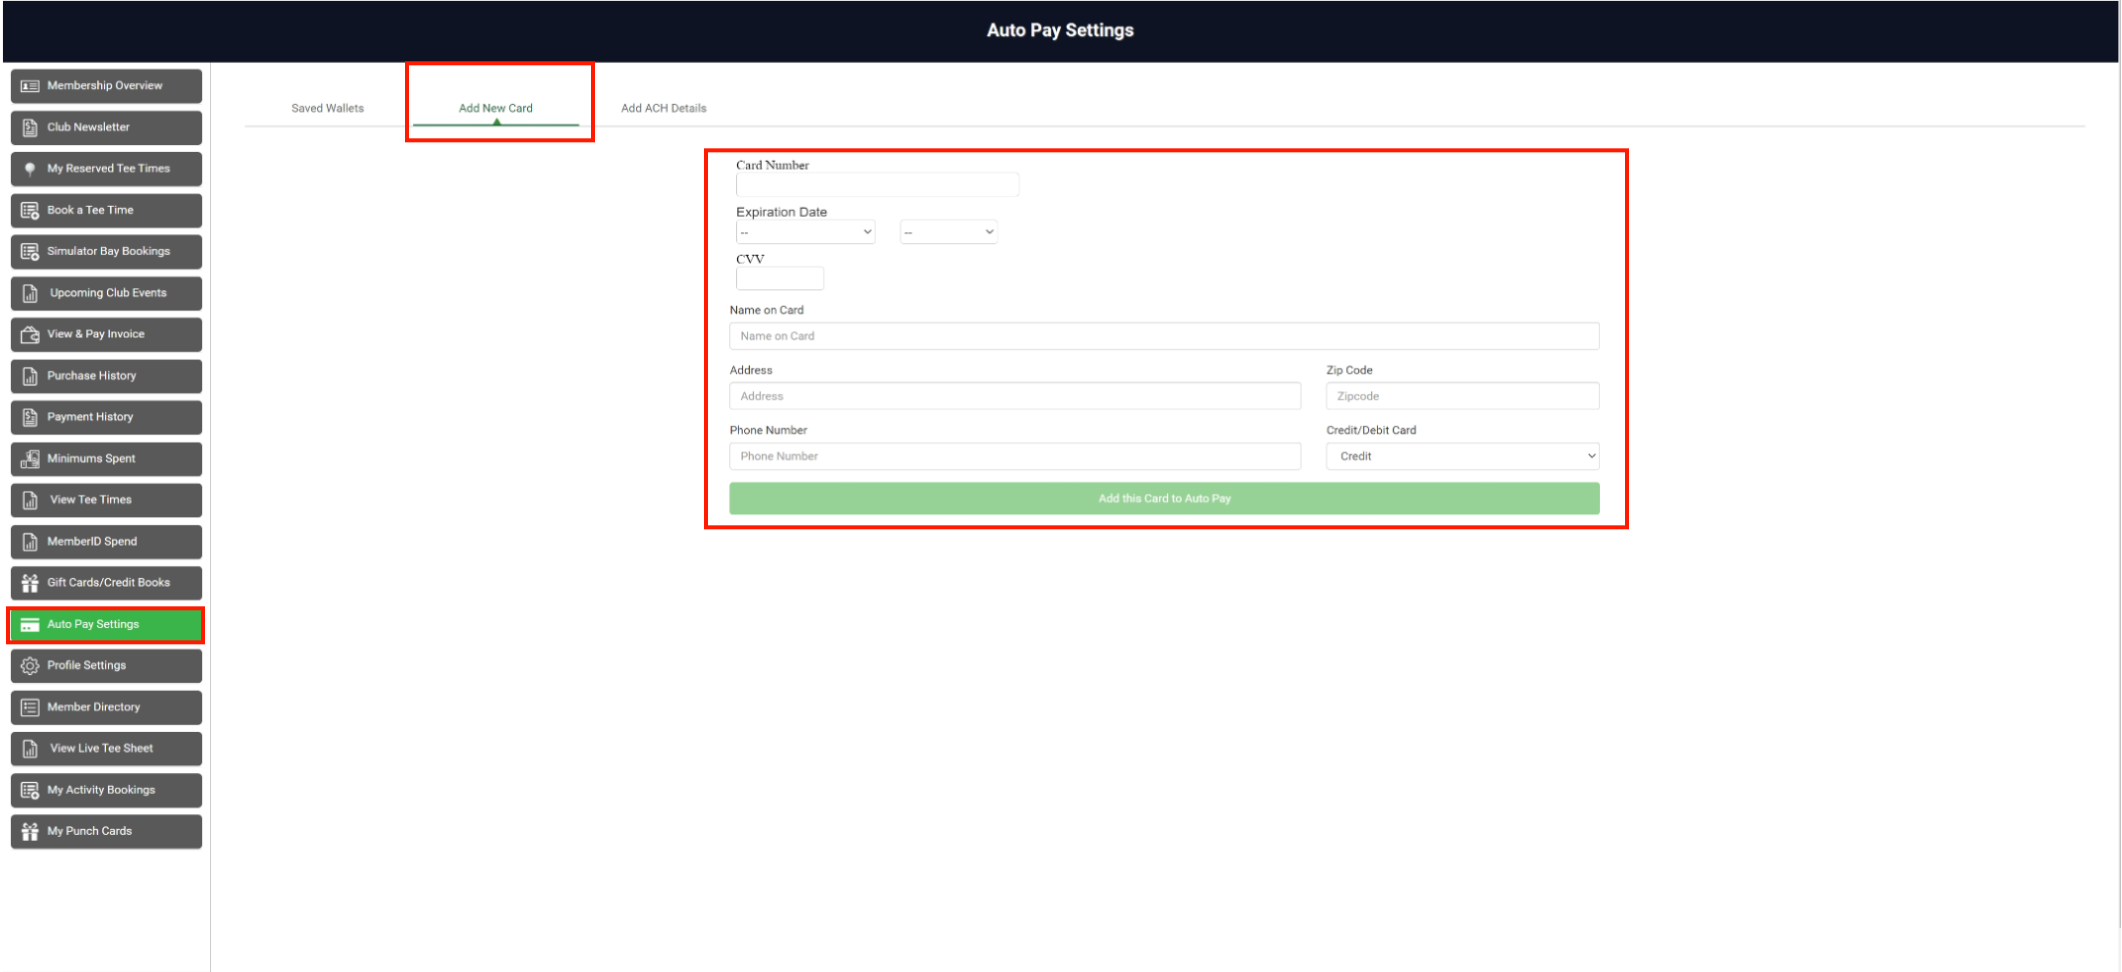
Step 2: After a successful login, click Auto Pay Settings from the left-hand menu. In this window, you can see the saved card details and can add a new card. To add a new card click Add New Card. Fill in all the info then click Add this Card to Auto Pay. The card will be added to the saved cards list.
Related Articles
Add a Card or ACH to a Member Account
Article Contents: This article outlines the process for adding a new card or ACH account to a member's profile. Once a card or ACH account is on file for a guest, they become eligible for automated charges, which are scheduled according to your ...Membership Payment through Saved Card
Article Contents:- This portion summarizes how to Add New Card to make payment through Membership Portal. Step-By-Step: Step 1: Click on the "Gear Wheel" icon from the right top corner of the window. Select "I-Frames" from the left row of the window. ...Setting up Auto-Pay
Article Contents: This article contains instructions on how to set up auto-payments for your membership account. Step-By-Step: Step 1: On the left-hand navigation menu select “Set Up Auto-Pay” (1) and then along the top navigation bar select “Add New ...Add a Sub-Member
Article Contents: This article explains how to add sub-member to the primary members. Step-By-Step: Step 1: Click on the "Guests" then click on "Members". Step 2: Select Particular member that you want to add sub-member and click on Action -> ...Secondary Email for Invoice
Users can add a secondary email address to receive invoices. This option provides flexibility in determining who receives the invoice communication. Step-By-Step: Step 1: Navigate to Members > Guests > Action > View/Edit. Step 2: Then, Scroll down ...